
 Español
 English
 Français
 Português
How to install FiveM with txAdmin on ZentexNode
🎮 What you'll have at the end
A FiveM server running on ZentexNode, with txAdmin set up, your license in place and the address ready to hand to your players. It takes about 15 minutes and you don't need to open a ticket. If you're still deciding on a framework or how much RAM to get, start with the general guide on how to make a FiveM server from scratch; here we go straight to the steps in our panel.🔑 1. Get your license key
FiveM won't start without a license key, which is free. Log in to portal.cfx.re with your Cfx.re account, go to the server keys section and create a new one. Copy the key: it starts withcfxk_.In your server's panel, open the Startup tab, find the FIVEM_LICENSE variable and paste the key there.
🔌 2. Check your ports
Your FiveM server has several ports. You'll find them in the Network tab:- The main port is the game port: it's the one shown in your server address, at the top of the panel. That's where players come in.
- txAdmin uses another of your ports. It's set in Startup, in the TXADMIN_PORT variable.
40120 or a number that isn't in your port list, change it to the second port on the list: txAdmin can only be reached from outside on a port that belongs to you.▶️ 3. Start the server and open txAdmin
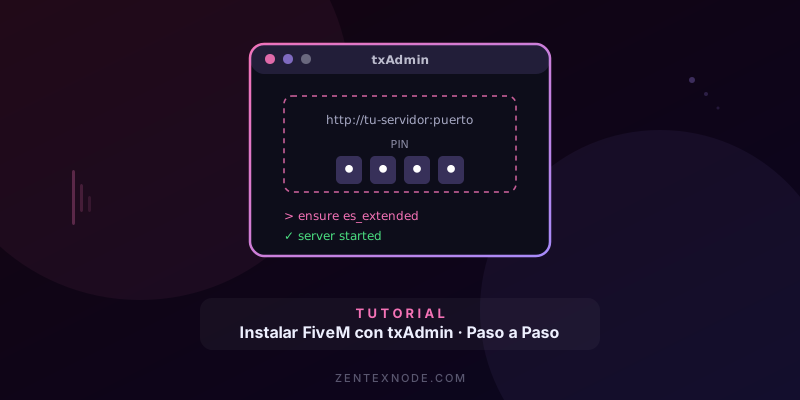
Press Start in the Console tab. After a few seconds you'll see a txAdmin box with an address and a 4-digit PIN.Open this in your browser:
http://YOUR-ADDRESS:TXADMIN-PORTFor example, if your server is
wambaes.zentexnode.com:XXXX and your TXADMIN_PORT is YYYY, the txAdmin address is http://wambaes.zentexnode.com:YYYY. Two details that save time:- It's http, not https. If your browser switches it on its own, type the address out in full.
- The console shows “your-public-ip”: use the same hostname as in your server address and change only the port.
🔐 4. The PIN and your admin account
txAdmin asks for the PIN from the console and has you link your Cfx.re account: that becomes the master account. It then makes you create a backup password so you can log in even if Cfx.re isn't responding. Keep it safe: whoever gets into txAdmin controls the whole server.🧩 5. The setup wizard: choose how to build the server
Once you've entered the server name, txAdmin asks for the deployment type. The two options you'll use:Popular Recipes — to start from scratch with a framework already set up (ESX Legacy, QBCore, Qbox…). txAdmin downloads everything and leaves it working. Keep the data folder it suggests; it will ask for the license and the database details (step 6).
Existing Server Data — if you already have your own server base and have uploaded it to the server. It asks for two paths, which on ZentexNode are always these:
- Base folder (the one containing
resources):/home/container - Config file:
/home/container/server.cfg
💾 6. The database (if you use a framework)
ESX, QBCore and Qbox store characters, vehicles and inventories in MySQL. The database is included in your plan:- In the panel, open Databases and create a new one.
- The panel shows you the server (host and port), the database name, the username and the password.
- In txAdmin, expand the recipe's database options and copy those details exactly as they are. Watch the port: it isn't always 3306, so enter the one your panel shows.
server.cfg, on this line:set mysql_connection_string "mysql://USER:PASSWORD@HOST:PORT/DATABASE"Don't paste the panel's “JDBC Connection String”. It starts with
jdbc: (oxmysql can't connect and shows ECONNREFUSED) and it also carries the password encoded, for example %5E instead of ^ (which then gives “Access denied”). Write the line by hand with the username and password exactly as shown in their own fields in the panel.⚙️ 7. Check server.cfg before starting
The last step of the wizard shows you theserver.cfg. Look at these two lines:endpoint_add_tcp "0.0.0.0:YOUR-MAIN-PORT"endpoint_add_udp "0.0.0.0:YOUR-MAIN-PORT"Recipes ship with
30120: change it to your main port on both lines, or players won't be able to join. Also check that sv_maxclients doesn't go above 48 (more slots require a Cfx.re subscription). Save and start the server from the wizard itself.When
server.cfg is in /home/container, our panel writes the main port, the name, the license and the slots for you on every start.🚀 8. Join your server
Open FiveM, press F8 and type:connect YOUR-ADDRESS:YOUR-MAIN-PORTThat's the address to give your players. From here on, everything is managed from txAdmin: scheduled restarts, admins, kicks and the live console.
📦 Uploading resources and large packs
For a single script, the panel's file manager is enough. For large packs (clothing, cars, maps of several GB) use SFTP: the connection details are in the panel's Settings tab and work in FileZilla or WinSCP. Upload each resource intoresources and enable it with ensure resource-name; it's all covered step by step in how to install resources and scripts on FiveM. Before a big change, make a backup from the panel.🚨 If something goes wrong
- txAdmin won't open. TXADMIN_PORT isn't one of your ports, you're using https, or the server is stopped.
- I can't find the PIN. It shows up in the console at startup for as long as the master account doesn't exist. Restart the server and look again.
- Invalid license. Check that the whole key is in FIVEM_LICENSE, with no spaces, and restart.
- txAdmin works, but nobody can join. The
endpoint_addlines in server.cfg aren't using your main port (step 7). - oxmysql errors. The database host, port or password doesn't match what the panel shows.
❓ Frequently asked questions
Does txAdmin cost anything?No. It's included in every FiveM and RedM plan.
Can I use a base I've already built?
Yes. Upload it to your server over SFTP and choose “Existing Server Data” in the wizard, with the paths from step 5.
How many players can I have?
Up to 48 slots without paying Cfx.re anything. The RAM you need depends mostly on the scripts you load.
What if I get stuck on a step?
Open a ticket on our Discord and we'll go through it with you.
Don't have a server yet? With ZentexNode FiveM hosting it's activated automatically as soon as you pay, with txAdmin included, from €2/month and no lock-in. Pick your plan in the store.
Ready to set up your server?
Minecraft hosting in Spain with automatic setup, Anti-DDoS Pro and no contract.
See plans from €2/mo →